1. Open AutoCAD. The drawing area will show the settings of the acadiso.dwt template – Limits set to 420,297, Grid set to 10, Snap set 2 to 5 and Units set to 0.
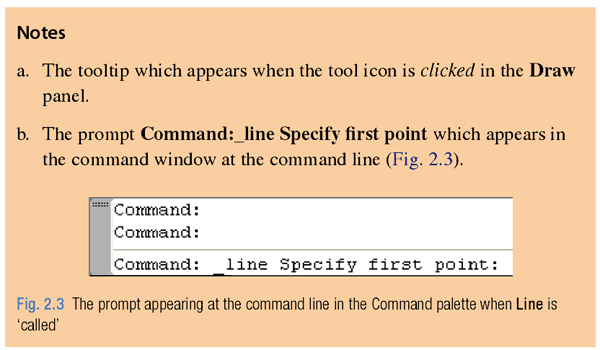
2. Left-click on the Line tool in the Home/Draw panel , or click Line in the Draw drop-down menu , or enter line or l at the
command line
3. Make sure Snap is on by either pressing the F9 key or the Snap Mode button in the status bar. Snap on will show in the command palette.
4. Move the mouse around the drawing area. The cursors pick box will jump from point to point at 5 unit intervals. The position of the pick box will show as coordinate numbers in the status bar (left-hand end).
5. Move the mouse until the coordinate numbers show 60,240,0 and press the pick button of the mouse (left-click).
6. Move the mouse until the coordinate numbers show 260,240,0 and left-click.
7. Move the mouse until the coordinate numbers show 260,110,0 andleft-click.
8. Move the mouse until the coordinate numbers show 60,110,0 and left-click.
9. Move the mouse until the coordinate numbers show 60,240,0 and left-click. Then press the Return button of the mouse (right-click). The line rectangle Fig. 2.4 appears in the drawing area.
No comments:
Post a Comment